สวัสดีครับ ในบทความวันนี้จะเป็นการแนะนำ การส่ง Push Notification ไปยัง Web Browser ด้วย Cloud Messaging ใน Firebase กันครับ
มาเริ่มกันเลย ก่อนอื่นเราต้องไปสร้าง Project ที่ Firebase Console กันก่อนครับ
https://console.firebase.google.com
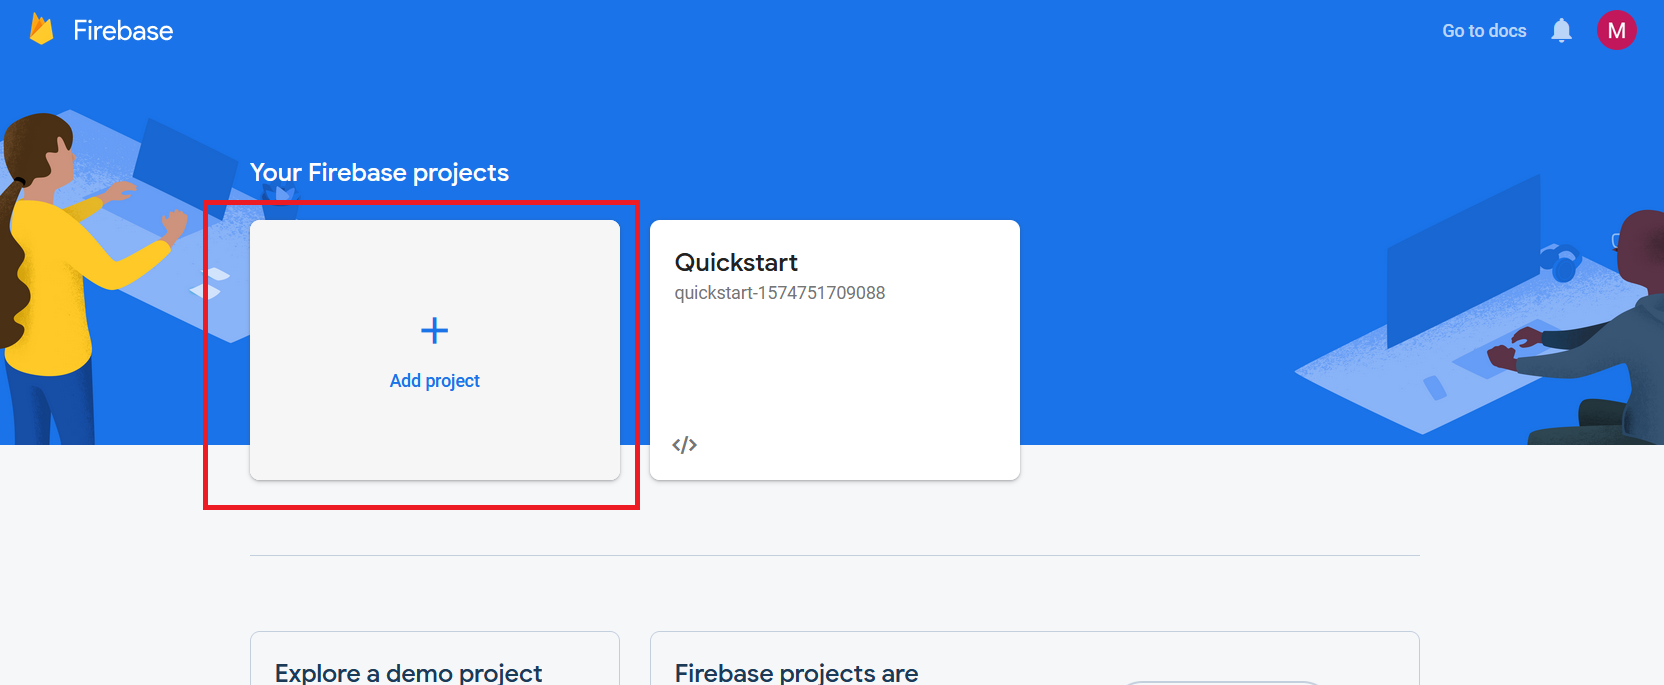
1.เมื่อเข้ามาแล้วคลิกที่ Add Project
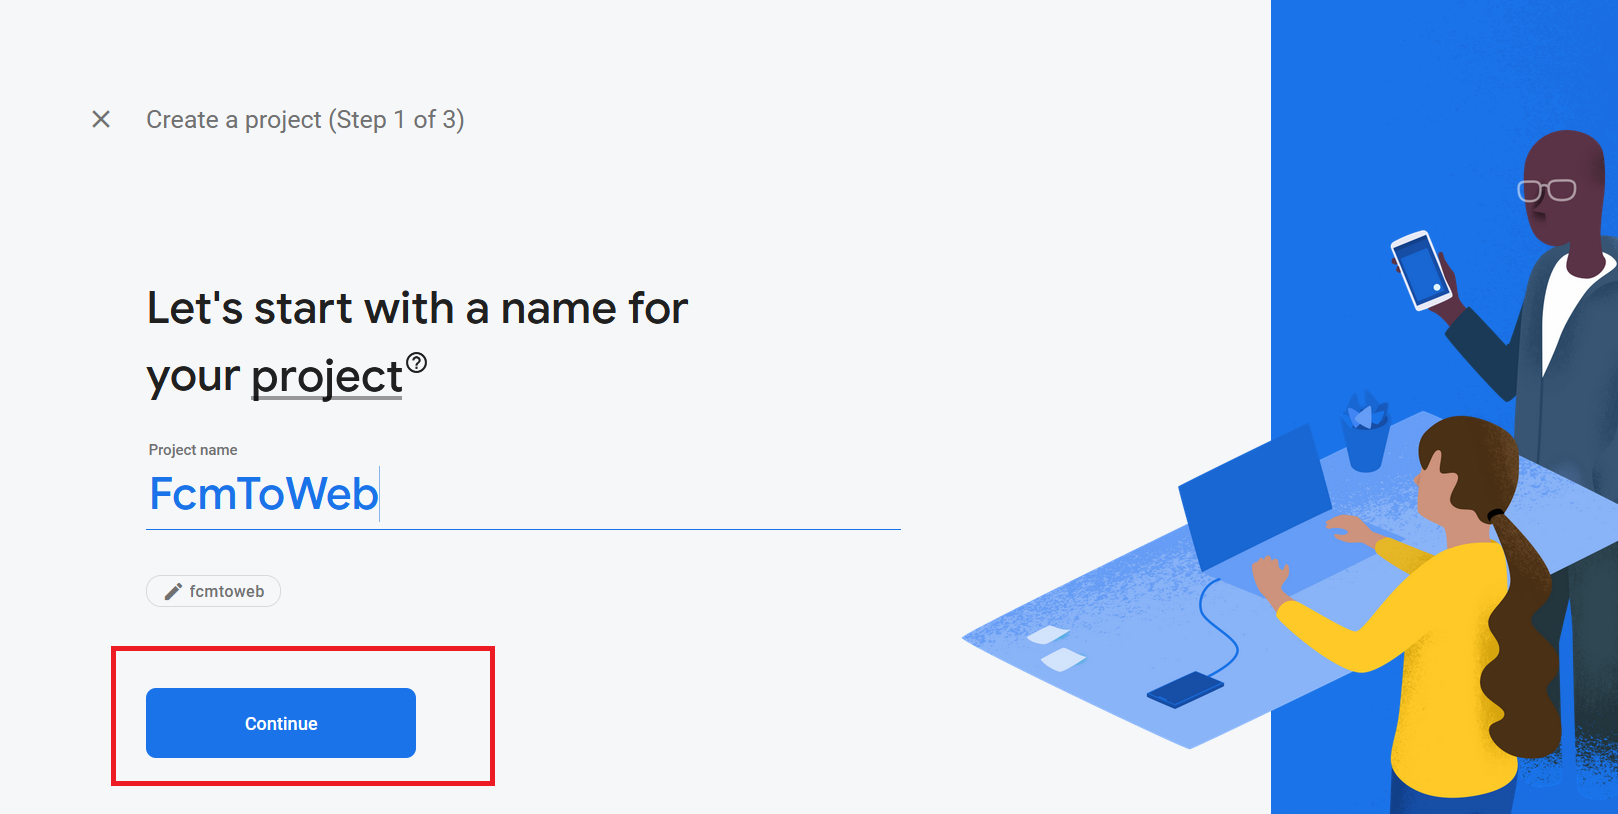
2.ตั้งชื่อ Project Name (ตัวอย่างใช้ชื่อว่า FcmToWeb ) จากนั้นคลิกปุ่ม Continue
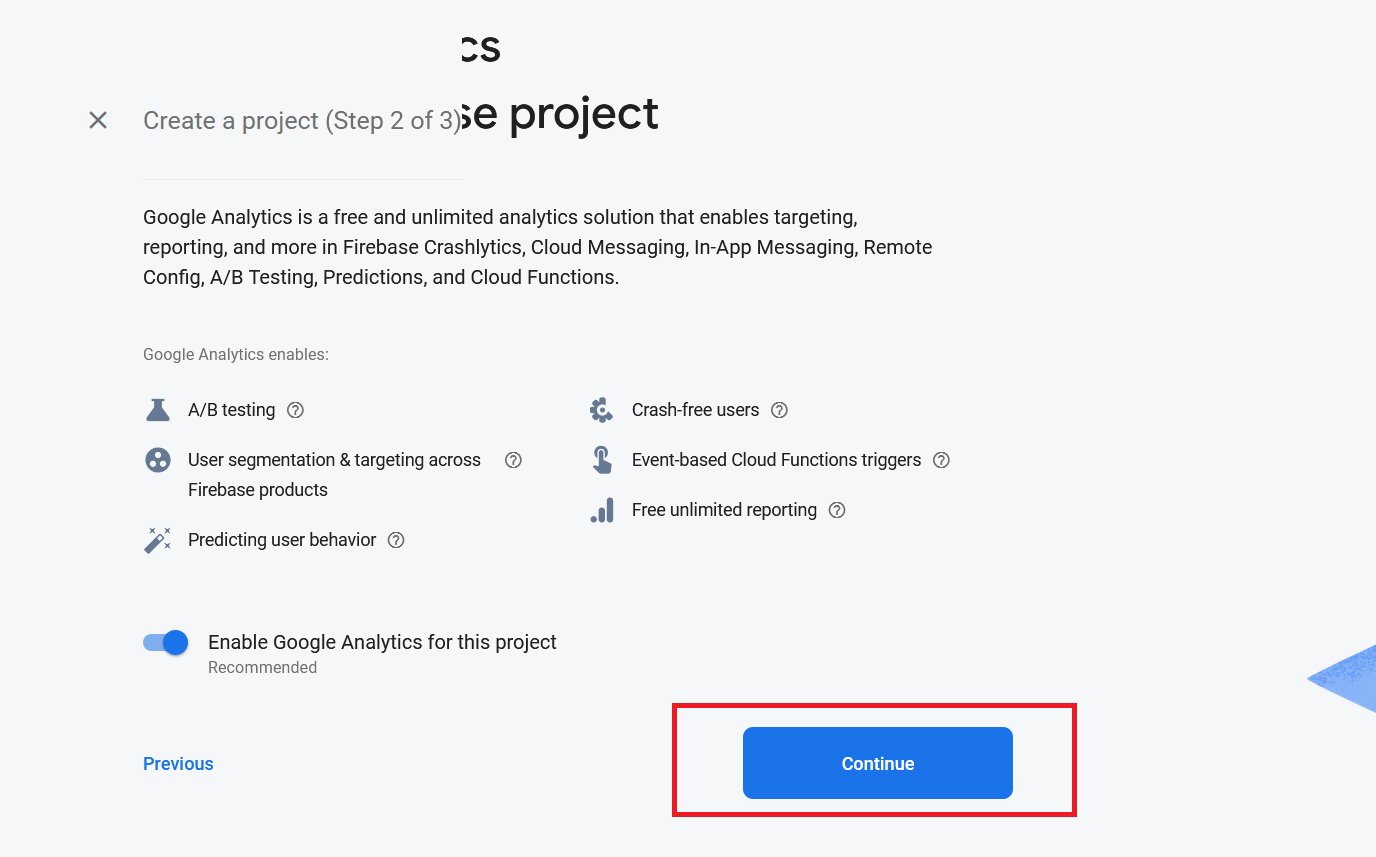
3.จากนั้นคลิกปุ่ม Continue
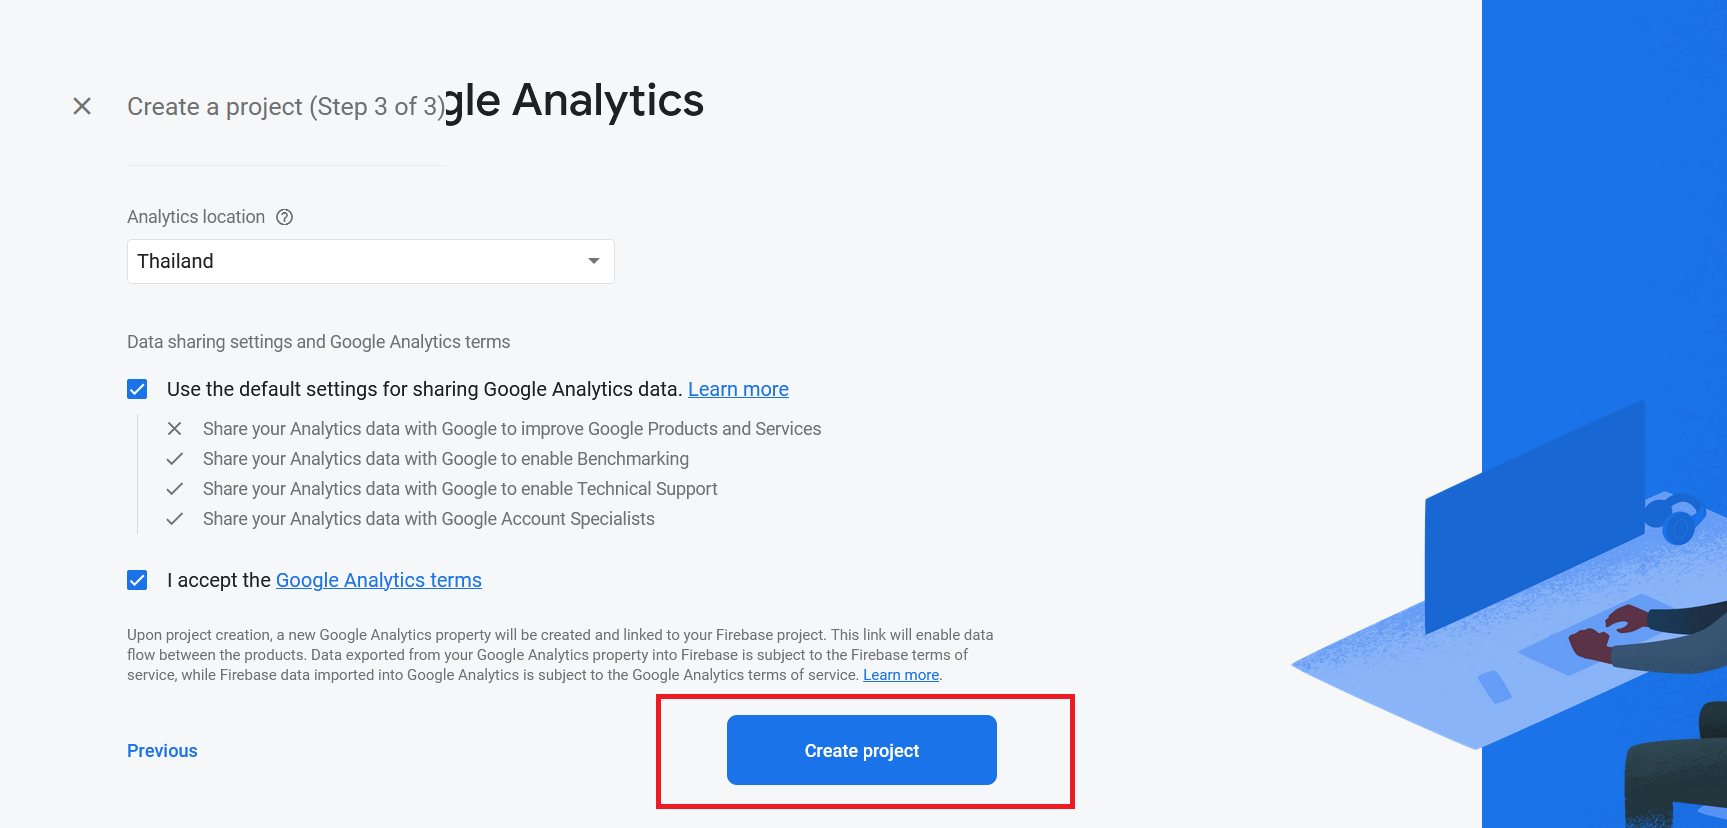
4.จากนั้นคลิกปุ่ม Create Project
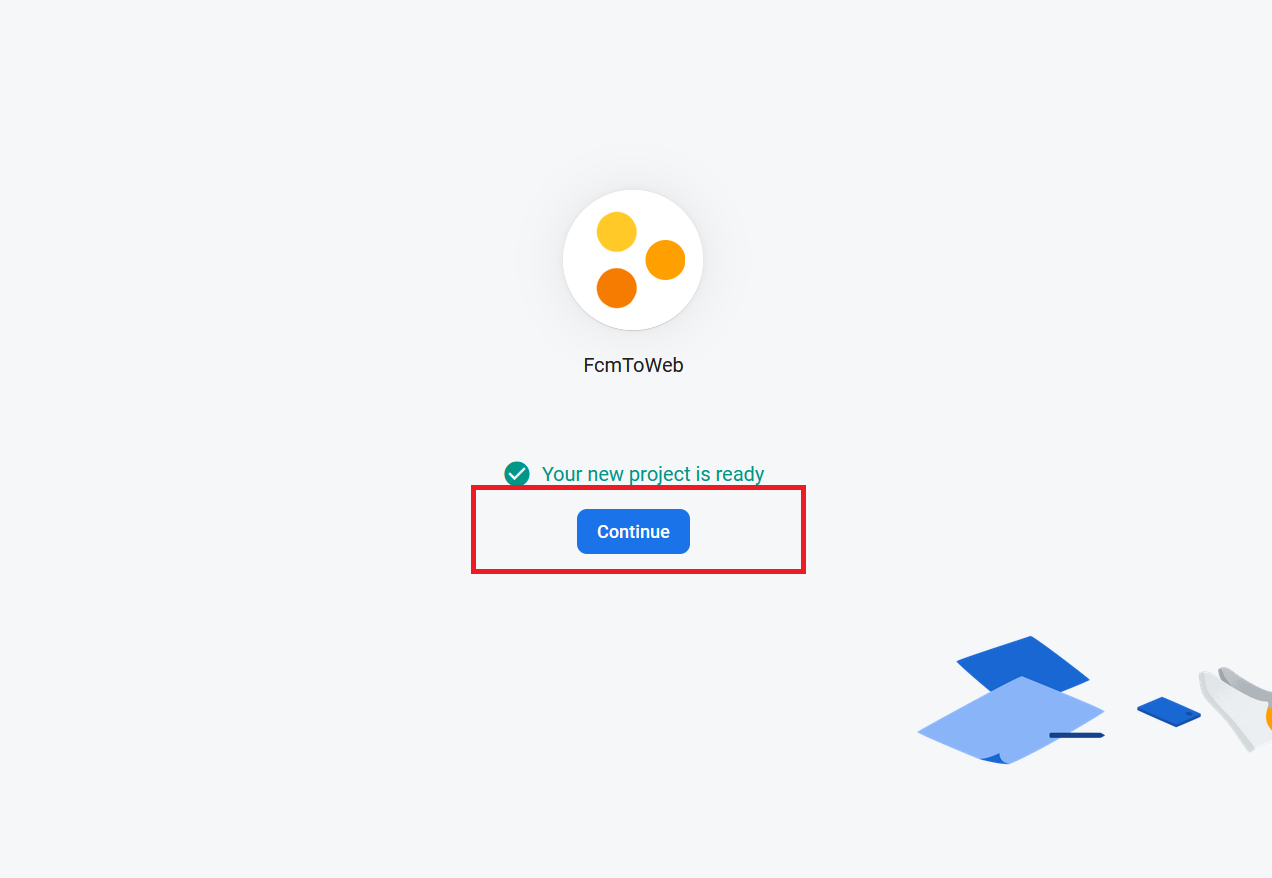
5.รอระบบสร้าง Project สักครู่จากนั้นคลิกปุ่ม Continue
6.จะมาที่หน้า Console ของ Firebase จะมีให้เลือกว่าเราจะใช้งาน Project แบบใด จะมี IOS , ANDROID , WEB
เลือก WEB ตามภาพ

7.ต่อมาจะให้ตั้ง App nickname (ตัวอย่างตั้งชื่อว่า NotifyMe) จากนั้นคลิก Register app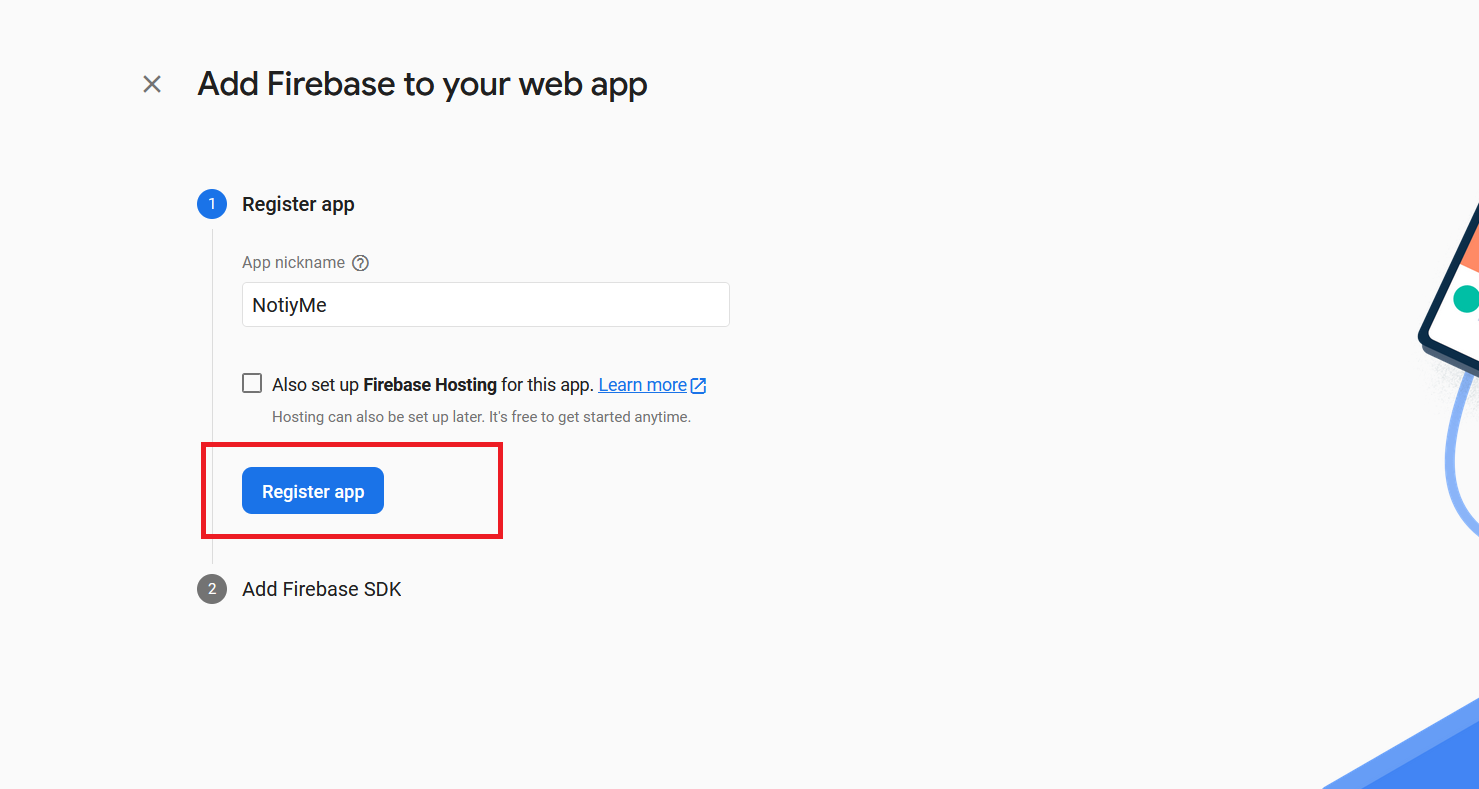
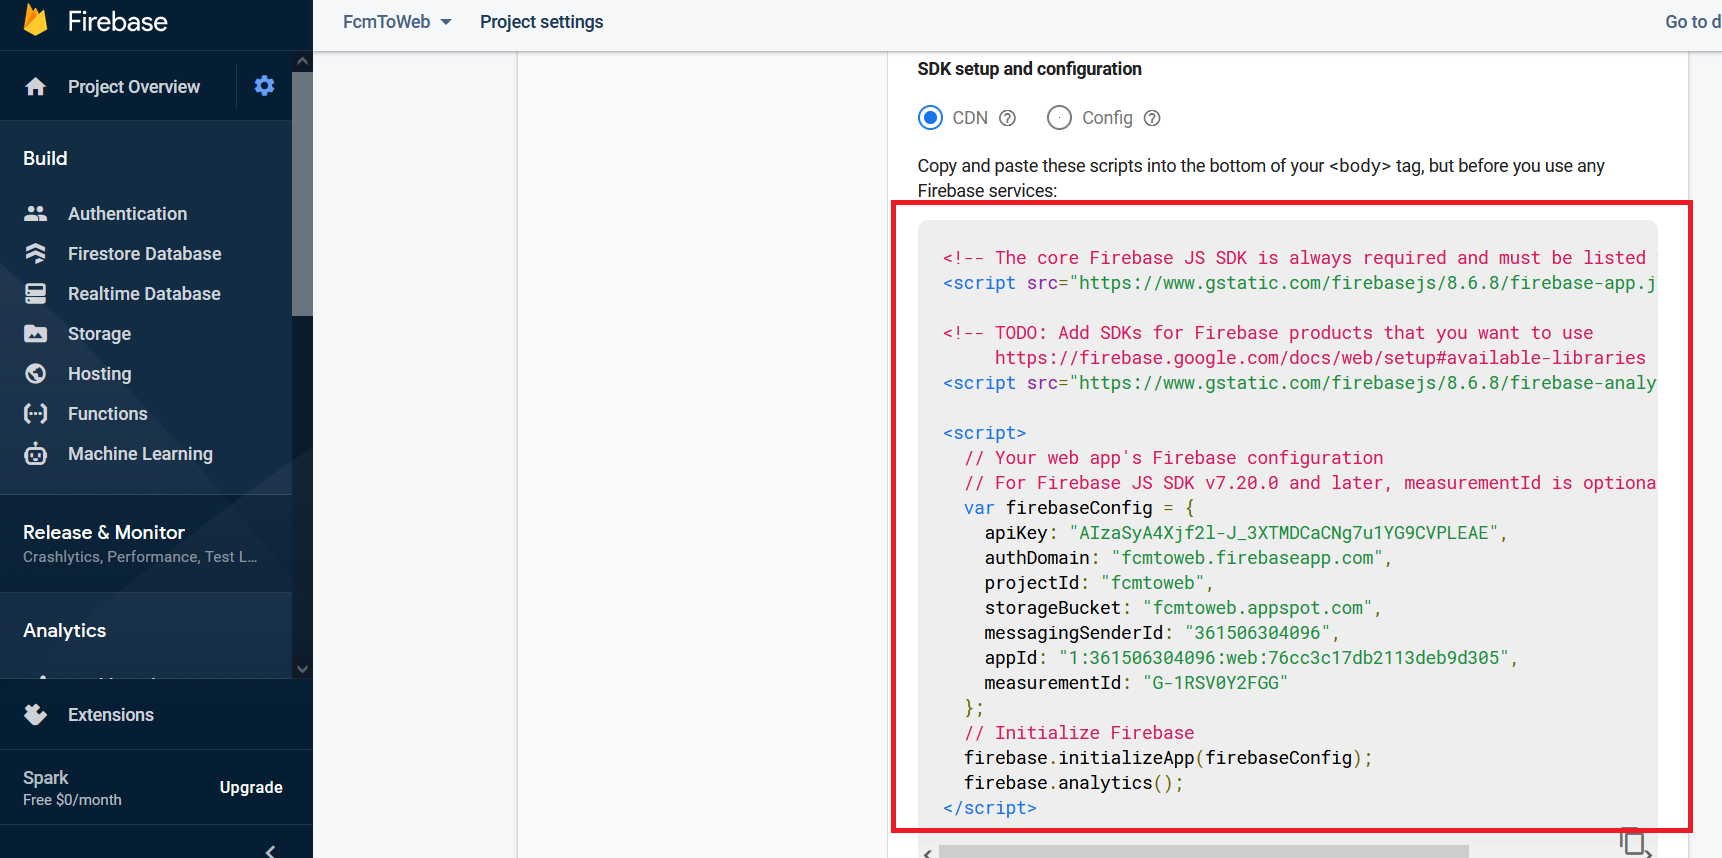
8.จากนั้นระบบจะแสดง Firebase SDK สำหรับนำไปใช้งานต่อ (ให้ Copy Code ชุดนี้เก็บไว้เขียน Code ต่อไปครับ)
*หากใครลืม Copy ไว้ไม่เป็นไรครับ ตอนท้ายจะมาบอกว่าต้องไปคลิกดูตรงไหนครับ
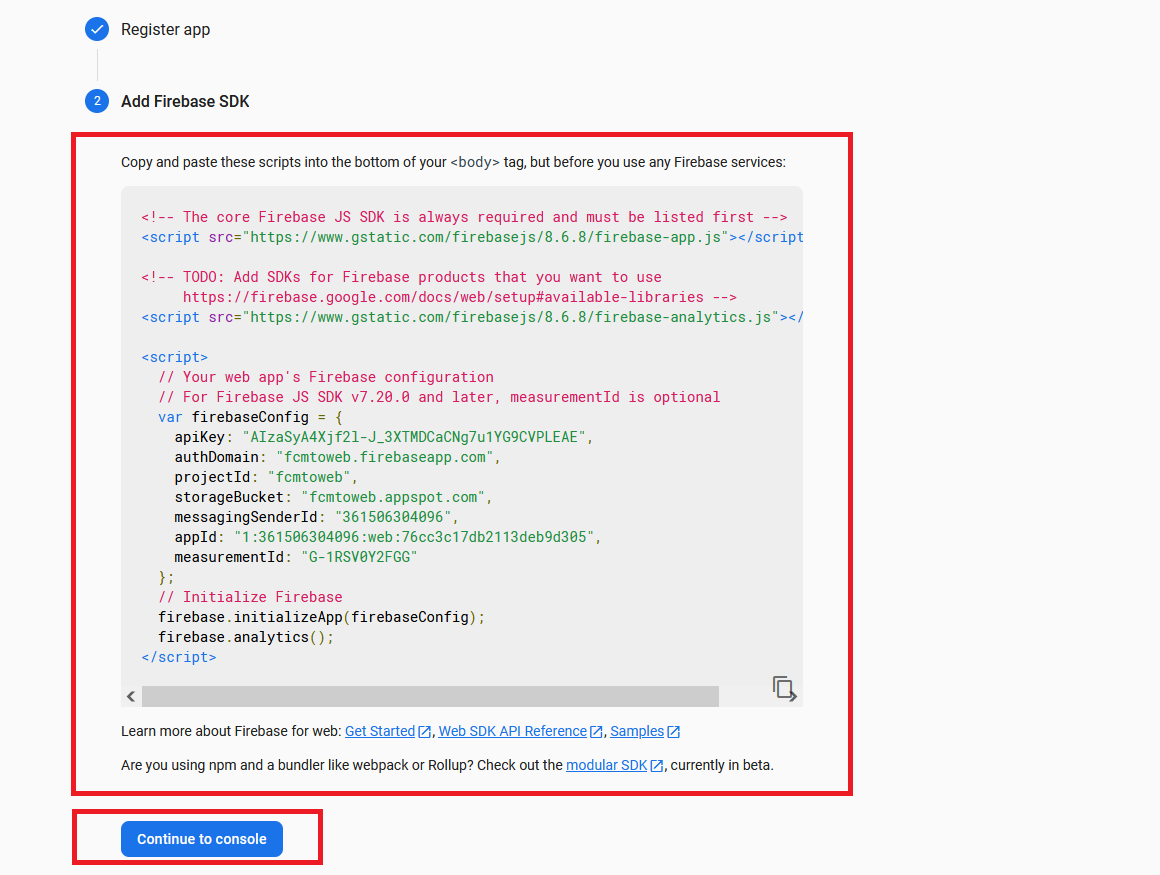
9.คลิก Continue to Console ระบบจะกลับไปที่ หน้า console ของ Firebase
เสร็จขั้นตอนการสร้าง Project ที่ Firebase แล้วครับ หลังจากนี้เราจะมาเริ่มเขียน Code กันครับ
ในการทดสอบต้องใช้ Server ที่เป็น https ครับ
ตัวอย่างโครงสร้าง
-index.html
-manifest.json
-firebase-messaging-sw (สำหรับไฟล์นี้จะต้องวางไว้ที่ Root ของ Web Site เสมอครับ)
10.สร้างไฟล์ index.html
นำค่า Config ที่ Copy ไว้ในขั้นตอนก่อนหน้ามาวางแทนที่ ค่าเดิมดังนี้
<html>
	<head>
		<title>FCM Cloud Messaging</title>

	</head>
	<body>
			<div id="token"></div>

			<!-- The core Firebase JS SDK is always required and must be listed first -->
			<script src="https://www.gstatic.com/firebasejs/8.6.7/firebase-app.js"></script>
			<script src="https://www.gstatic.com/firebasejs/8.6.7/firebase-messaging.js"></script>
			<!-- TODO: Add SDKs for Firebase products that you want to use
				 https://firebase.google.com/docs/web/setup#available-libraries -->

			<script>

				  TokenShow = document.getElementById("token");

				  // นำค่า Config ที่ Copy ไว้ในตอนแรก มาวางทีนี่
				  var firebaseConfig = {
					apiKey: "AIzaSyA4Xjf2l-J_3XTMDCaCNg7u1YG9CVPLEAE",
					authDomain: "fcmtoweb.firebaseapp.com",
					projectId: "fcmtoweb",
					storageBucket: "fcmtoweb.appspot.com",
					messagingSenderId: "361506304096",
					appId: "1:361506304096:web:76cc3c17db2113deb9d305",
					measurementId: "G-1RSV0Y2FGG"
				  };
				  // Initialize Firebase
				  firebase.initializeApp(firebaseConfig);


				const messaging = firebase.messaging();

				messaging.requestPermission().then(function () {

					console.log("Notification permission granted.");

					// get the token in the form of promise
					return messaging.getToken();

				}).then(function(token) {

					//สามารถนำ token ไปใช้สำหรับ ส่ง Push
					TokenShow.innerHTML = token;

				}).catch(function (err) {

					console.log(err);
				});


			</script>

	</body>
</html>
11.สร้างไฟล์ manifest.json
{
  "//_comment1": "Some browsers will use this to enable push notifications.",
  "//_comment2": "It is the same for all projects, this is not your project's sender ID",
  "gcm_sender_id": "103953800507"
}
12.สร้างไฟล์ firebase-messaging-sw (ไฟล์นี้จะต้องวางไว้ที่ Root ของ Web Site เสมอ)
นำค่า Config ที่ Copy ไว้ในขั้นตอนก่อนหน้ามาวางแทนที่ ค่าเดิมดังนี้
 importScripts('https://www.gstatic.com/firebasejs/8.6.7/firebase-app.js');
 importScripts('https://www.gstatic.com/firebasejs/8.6.7/firebase-messaging.js');

  // นำค่า Config ที่ Copy ไว้ในตอนแรก มาแทนค่าทีนี่
 firebase.initializeApp({
	apiKey: "AIzaSyA4Xjf2l-J_3XTMDCaCNg7u1YG9CVPLEAE",
	authDomain: "fcmtoweb.firebaseapp.com",
	projectId: "fcmtoweb",
	storageBucket: "fcmtoweb.appspot.com",
	messagingSenderId: "361506304096",
	appId: "1:361506304096:web:76cc3c17db2113deb9d305",
	measurementId: "G-1RSV0Y2FGG"
 });


 // Retrieve an instance of Firebase Messaging so that it can handle background
 // messages.
 const messaging = firebase.messaging();

messaging.setBackgroundMessageHandler(function(payload) {
    console.log(
        "[firebase-messaging-sw.js] Received background message ",
        payload,
    );
    // Customize notification here
    const notificationTitle = "Background Message Title";
    const notificationOptions = {
        body: "Background Message body.",
        //icon: '/firebase-logo.png'
    };

    return self.registration.showNotification(
        notificationTitle,
        notificationOptions,
    );
});
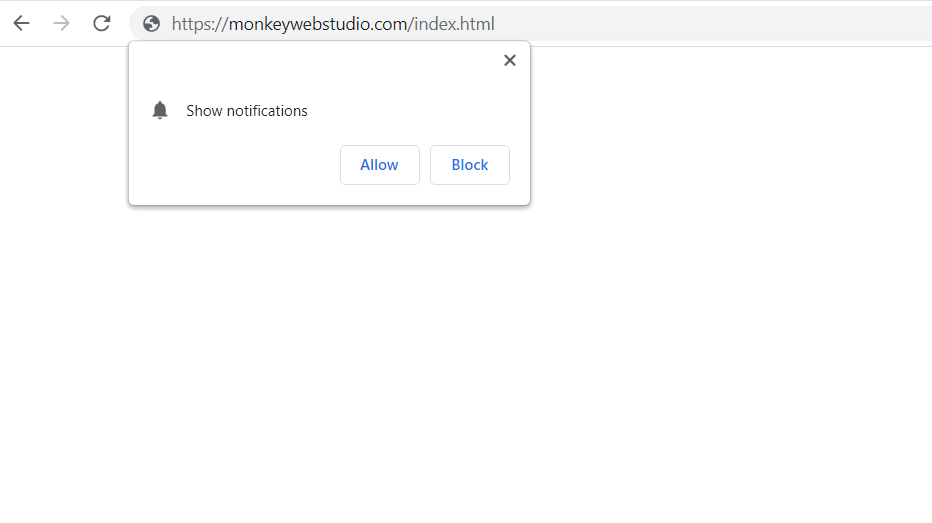
13.ทดสอบการทำงาน
เมื่อมีการเรียกไฟล์ index.html จะมีการ ขอ Permission Notifications คลิกเลือก Allow
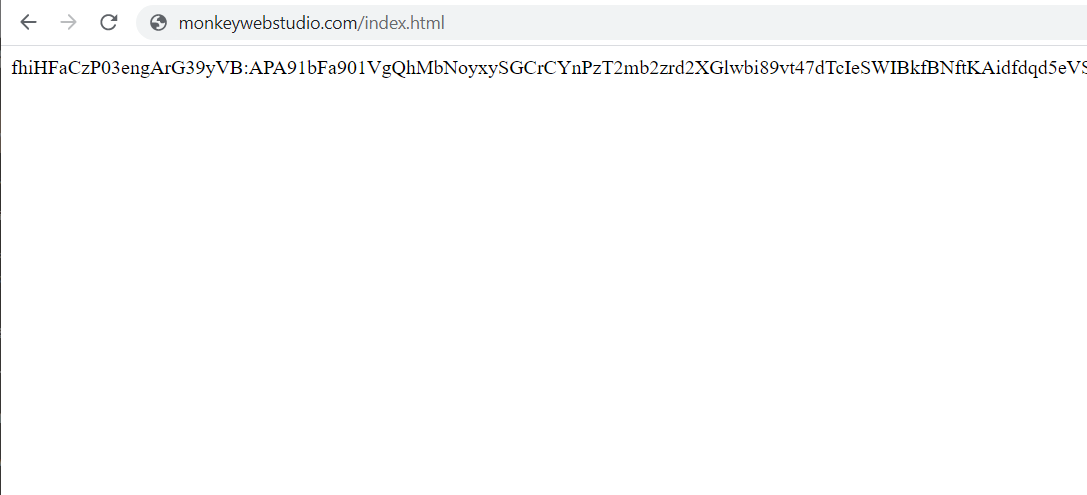
14.Web Browser จะแสดง Token สำหรับใช้ส่ง Notifications ดังภาพ
Copy Token เก็บไว้เพื่อนำไปใช้ทดสอบการส่ง Notifications ใน Firebase Console
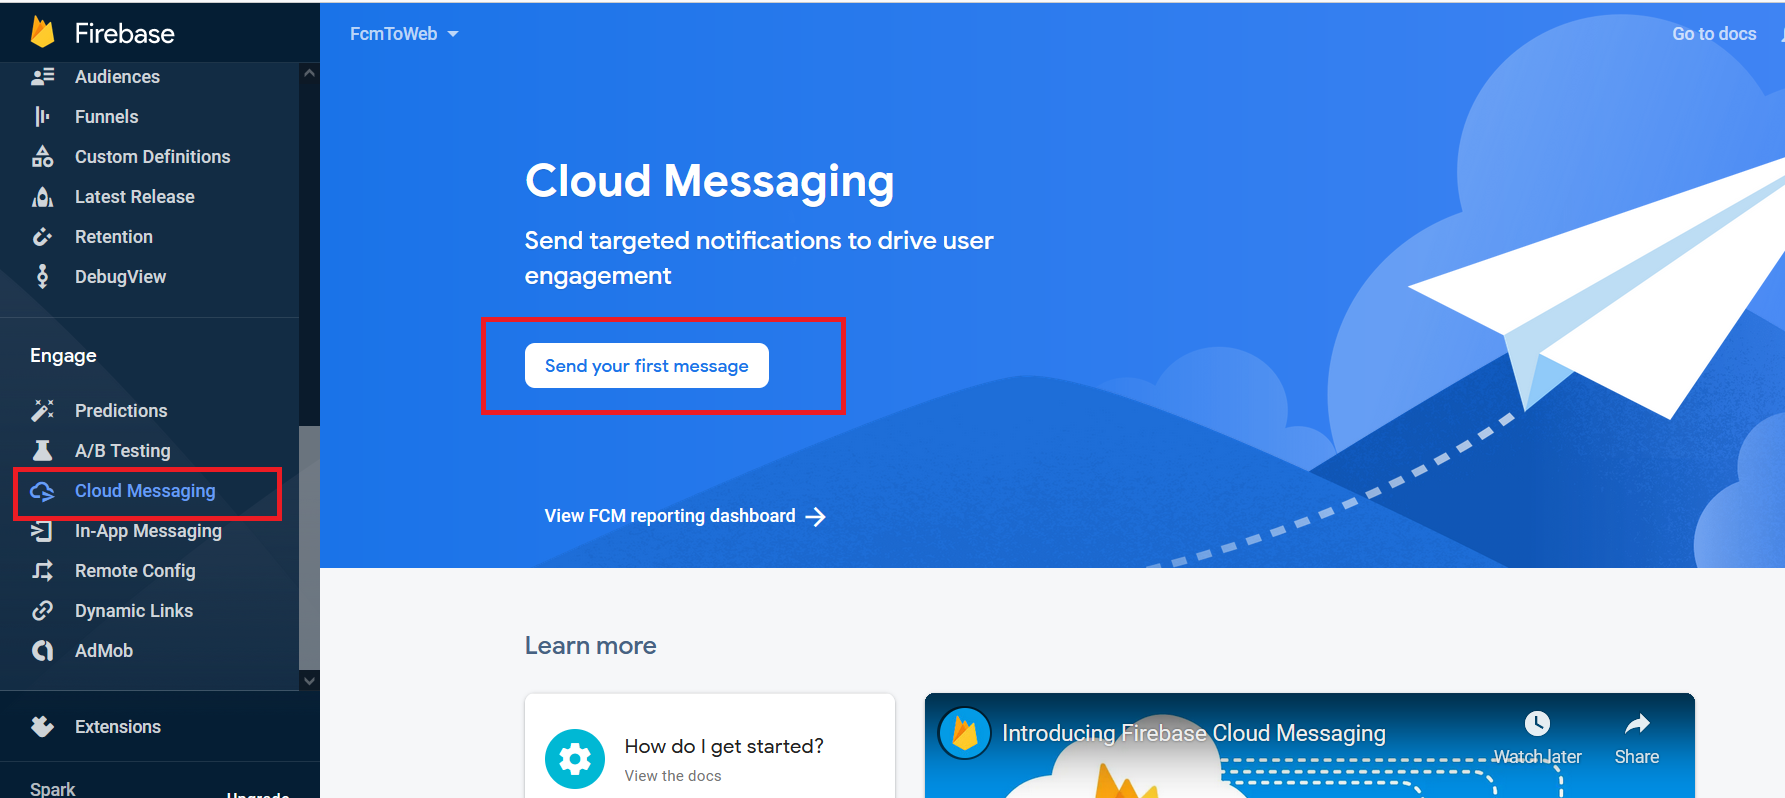
15.กลับไปที่ Firebase Console เลือก Project ที่ได้สร้างไว้ตอนแรก
– เลือกเมนู Cloud Messaging
– คลิกปุ่ม Send Your First Message
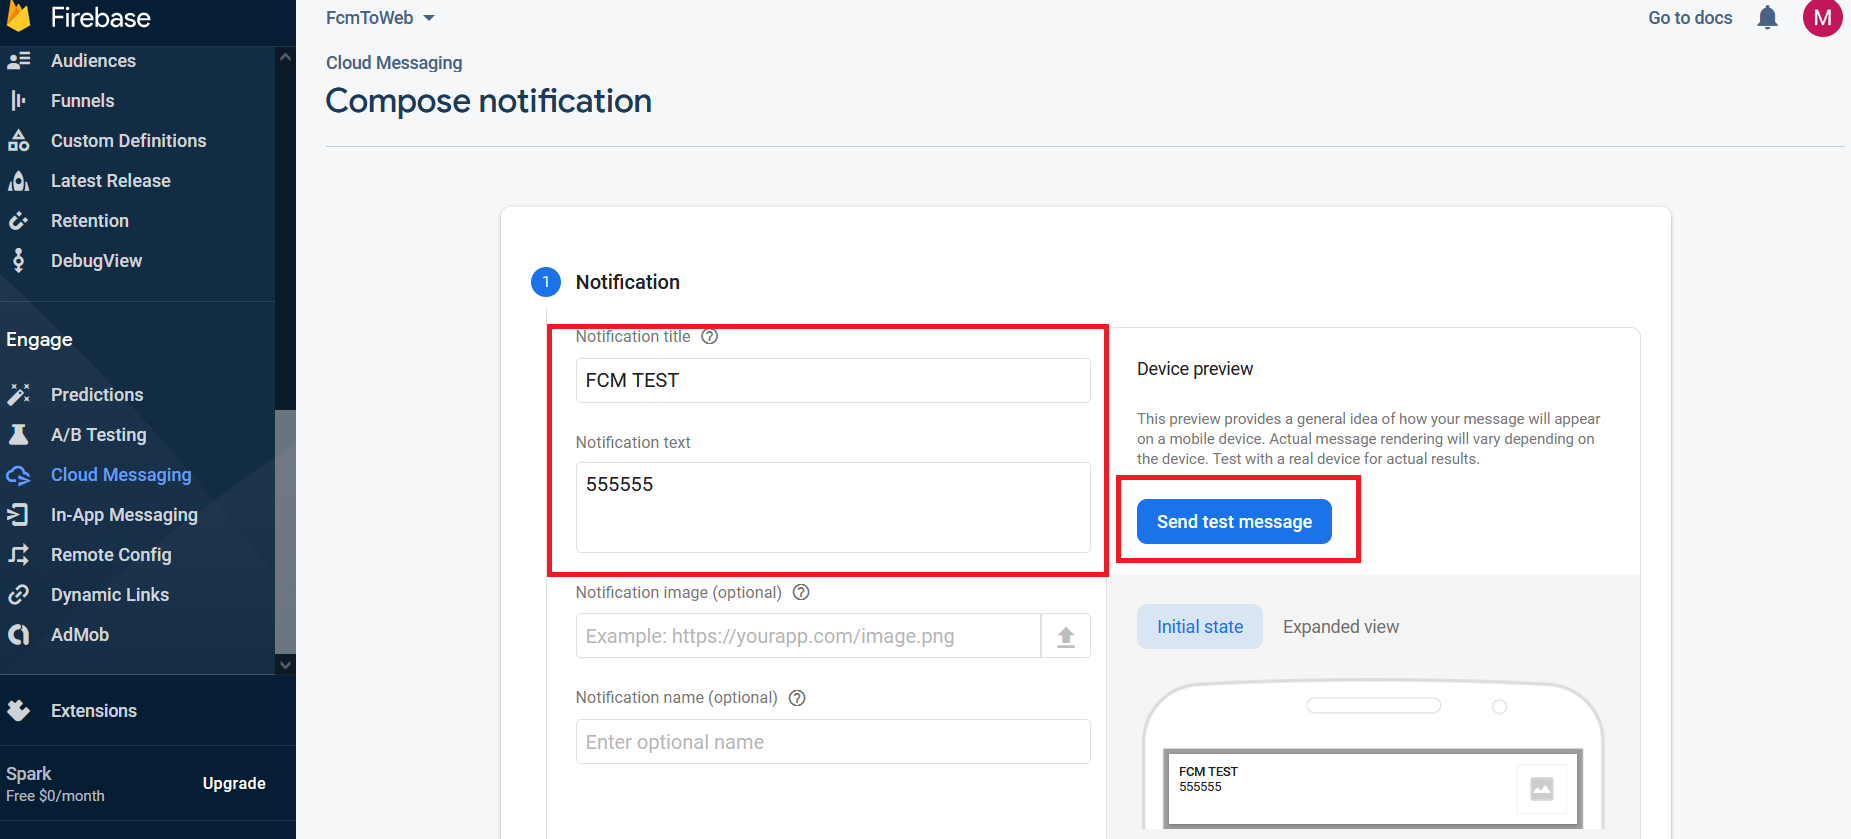
16.ระบุข้อความทดสอบ จากนั้นคลิกปุ่ม Send test message
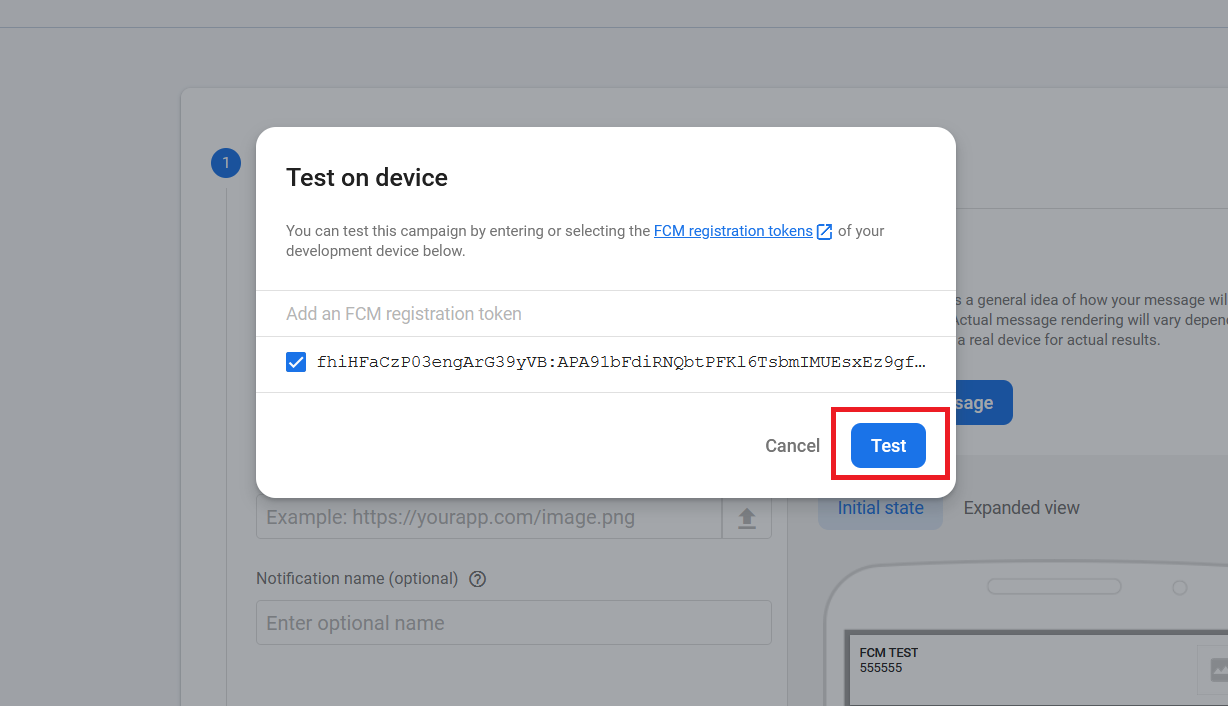
17.นำ token ที่ Copy ไว้จากขั้นตอนก่อนหน้าวาง ตามภาพ จากนั้นคลิกปุ่ม +
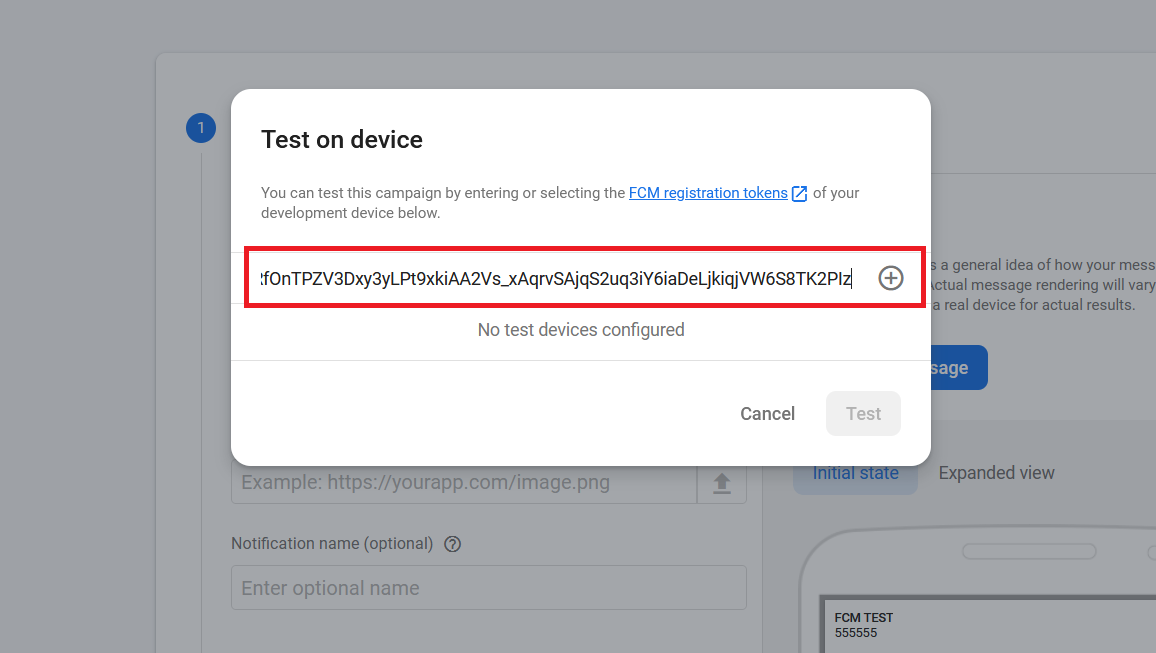
18.คลิกปุ่ม Test เพื่อส่งข้อความทดสอบไปยัง Browser
19.ตัวอย่าง หากมีการส่ง Notifications สำเร็จ จะมี POP UP ข้อความทดสอบ ดังภาพ

คงจะไม่สะดวกหากเราต้องเข้ามาที่ Firebase เพื่อส่งข้อความทุกครั้ง เราจึงมีทางเลือกที่ดีกว่าด้วยการส่งด้วย PHP curl ครับ
การส่ง Push Notifications ด้วย PHP CURL
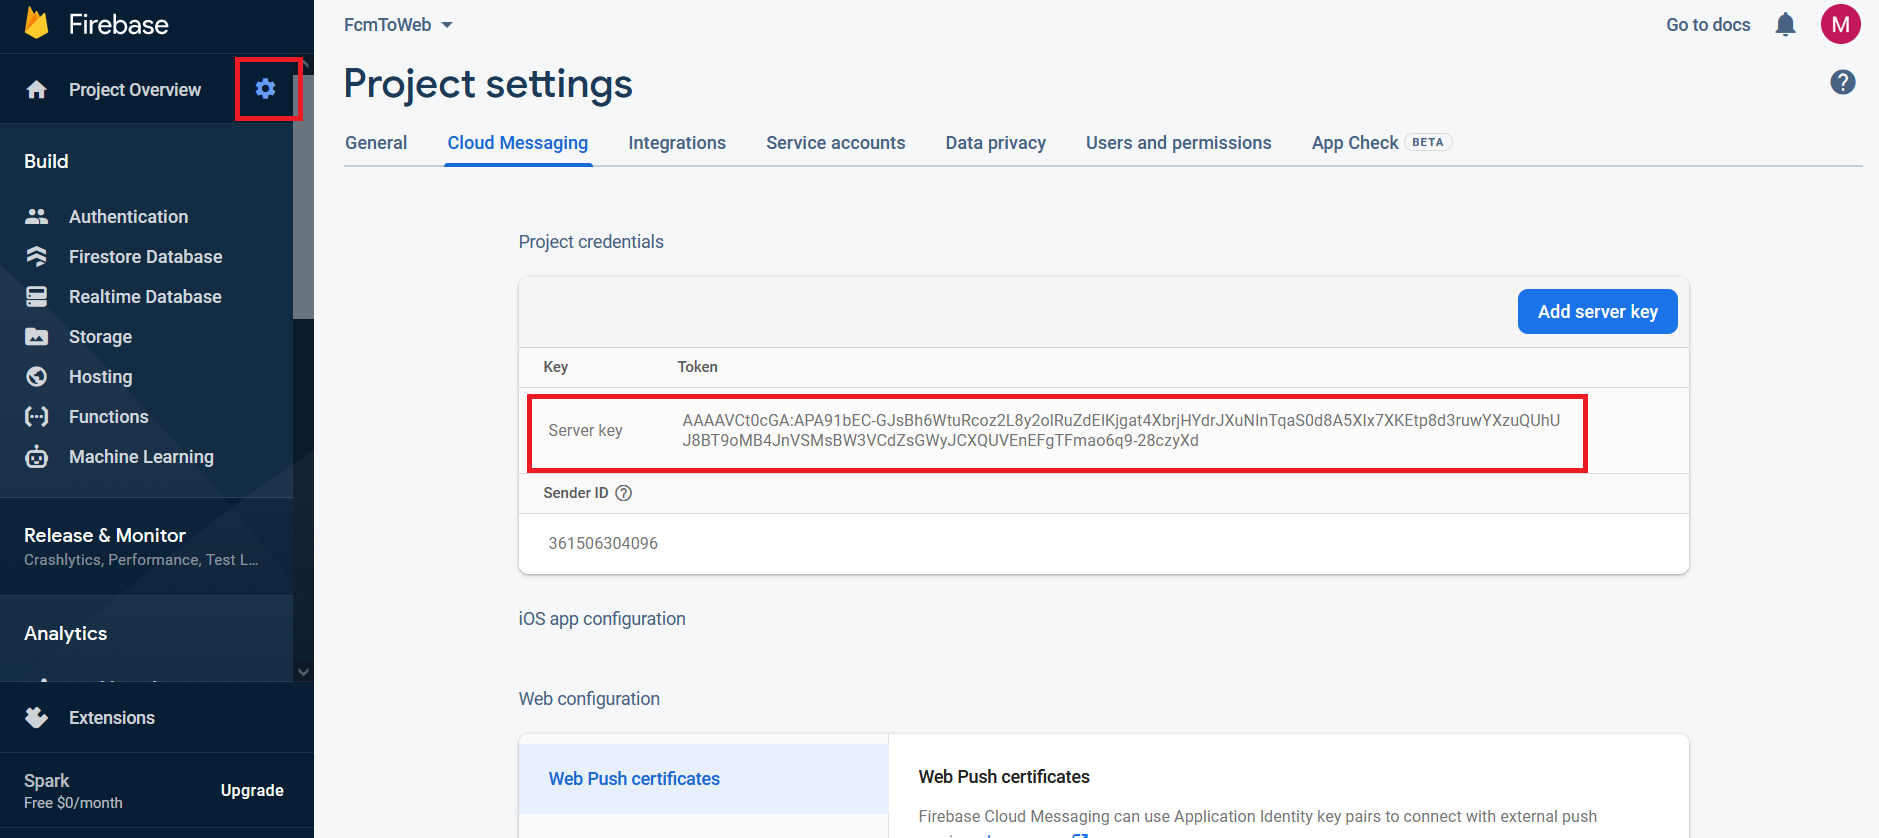
– กลับไปที่ Firebase Console ก่อนครับ
– คลิกรูปฟันเฟือง ตรงเมนู Project Overview
– คลิก Tab Cloud Messaging
– Copy Server Key เก็บไว้ใช้ในขั้นตอนต่อไปครับ
 สร้างไฟล์ push.php
<?php
   $url = "https://fcm.googleapis.com/fcm/send";
   $token = "token ที่ได้จาก ฺBrowser ในขั้นตอนก่อนหน้า";
   $serverKey = 'Server Key ที่ Copy เก็บไว้';
   $title = "ทดสอบ";
   $body = "ข้อความทดสอบ";

   $notification = array(
	   'title' =>$title ,
	   'body' => $body,
	   //'icon' => '',
	   'priority'=>'high',
	   'sound' => 'default'
   );

   $arrayToSend = array(
	   'to' => $token,
	   'notification' => $notification,
   );
   $json = json_encode($arrayToSend);
   $headers = array();
   $headers[] = 'Content-Type: application/json';
   $headers[] = 'Authorization: key='.$serverKey;
   $ch = curl_init();
    curl_setopt($ch, CURLOPT_URL, $url);
    curl_setopt($ch, CURLOPT_CUSTOMREQUEST,"POST");
    curl_setopt($ch, CURLOPT_POSTFIELDS, $json);
    curl_setopt($ch, CURLOPT_HTTPHEADER,$headers);
    curl_setopt($ch,CURLOPT_RETURNTRANSFER, true );
    //Send the request
    $response = curl_exec($ch);

	echo '<pre>';
	print_r($response);
	echo '</pre>';
?>
เพียงเท่านี้เราก็สามารถ นำ Token ที่ได้จาก Browser มาส่งด้วย PHP ได้แล้วครับ
การเรียกดูค่า Config Firebase SDK
– ไปที่ Firebase Console
– คลิกรูปฟันเฟือง ตรงเมนู Project Overview
– คลิก Tab General
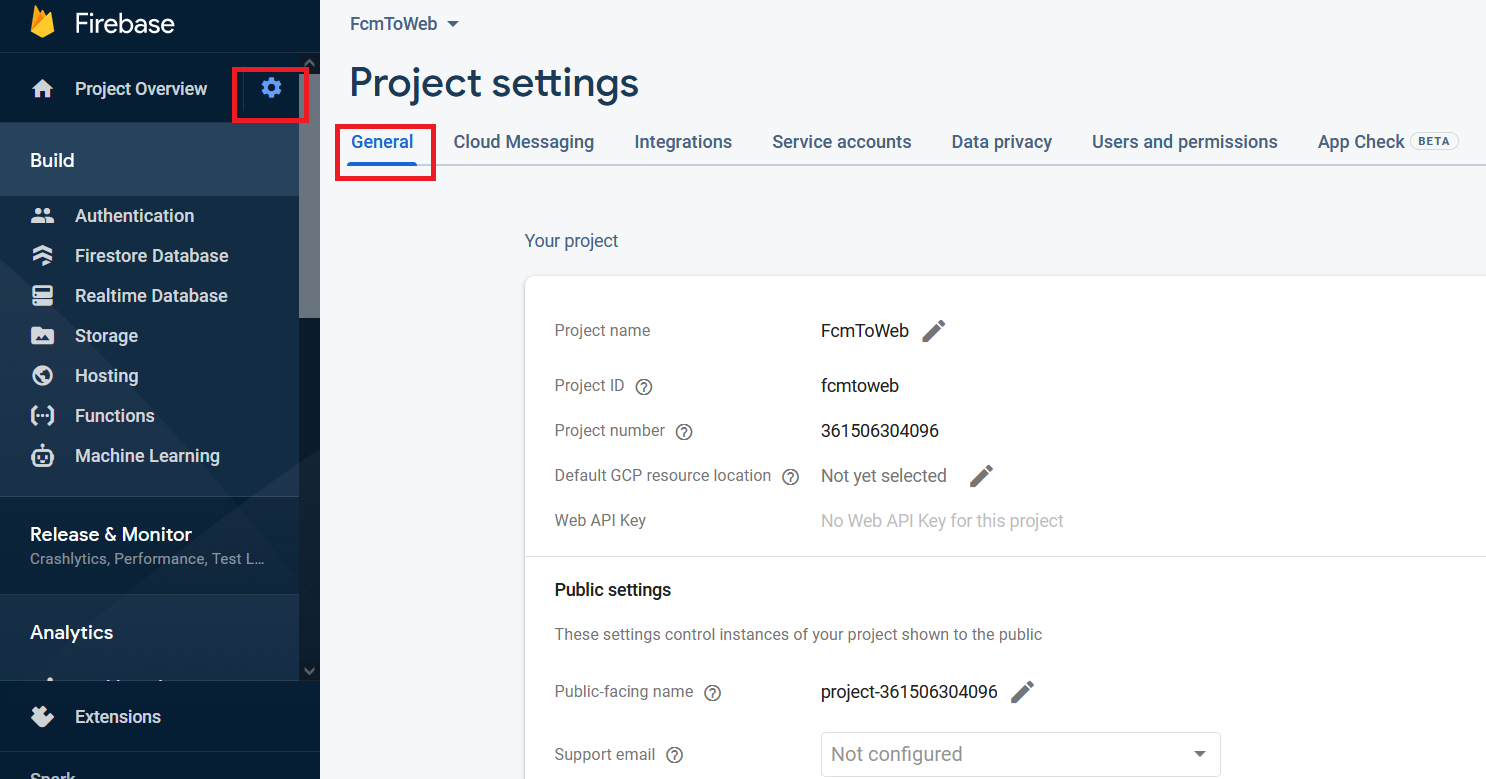
– เลือนลงมาด้านล่าง จะมีค่า Config แสดงอยู่ครับ
ขอจบแต่เพียงเท่านี้ครับ
หวังว่าจะเป็นประโยชน์สำหรับผู้อ่านทุกท่านครับ ขอบคุณครับ