สวัสดีครับ ในวันนี้เราจะมาแนะนำการใช้งาน PhpSpreadsheet ซึ่งเป็น Library สำหรับ จัดการไฟล์ Excel ครับ
ซึ่งจะมาแทนที่ตัว PHPExcel ที่ยุติการพัฒนาไปแล้วครับ สำหรับ PhpSpreadsheet จะรองรับ PHP Version 7.1 ขึ้นไปครับ
สามารถดูรายละเอียดของ PhpSpreadsheet ได้ที่
https://phpspreadsheet.readthedocs.io/en/latest/
เริ่มต้นติดตั้ง
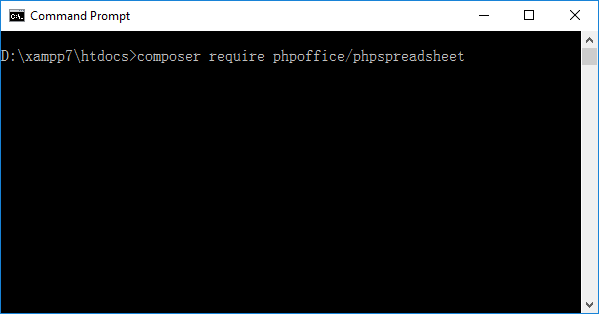
การติดตั้งเราจะติดตั้งผ่าน Composer ครับ ใครยังไม่มีต้องติดตั้งก่อนครับ
เมื่อติดตั้ง Composer เรียบร้อยแล้ว สามารถติดตั้ง phpspreadsheet ด้วยคำสั่ง
composer require phpoffice/phpspreadsheet
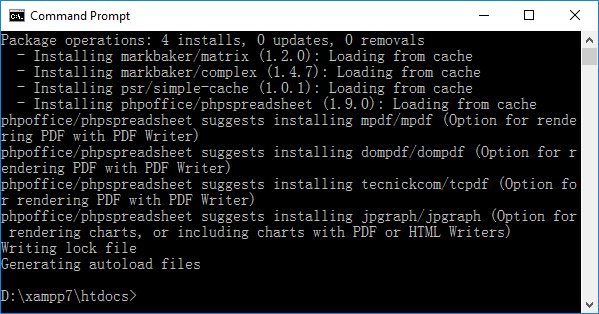
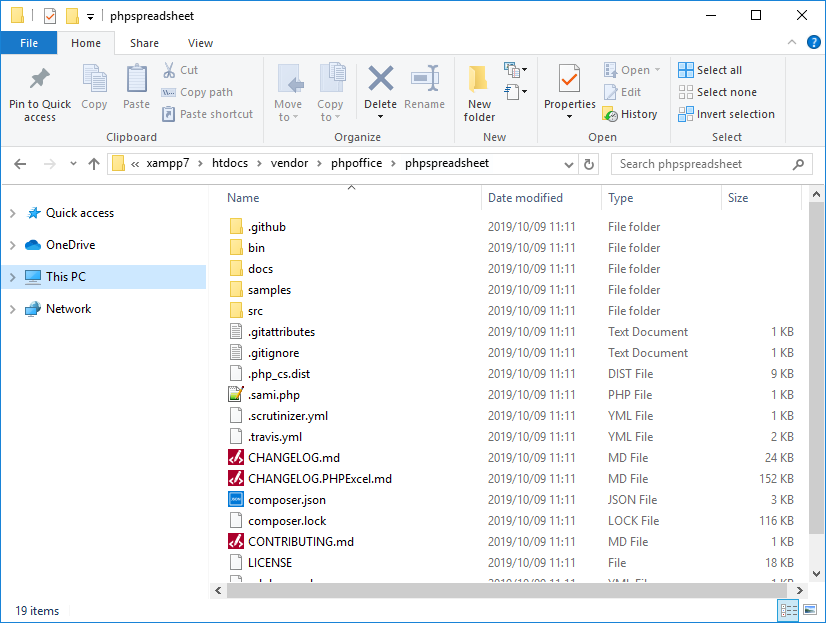
เมื่อติดตั้งเรียบร้อย จะมี Folder phpspreadsheet ติดตั้งอยู่ที่ D:\xampp\htdocs\vendor\phpoffice\phpspreadsheet
(หมายเหตุ ตัวอย่างติดตั้ง โปรแกรมจำลอง Server ไว้ที่ Drive D ครับ)
เริ่มต้นใช้งาน PhpSpreadsheet
1.สร้าง Folder excel ไว้ที่ D:/xampp/htdocs/excel
2.นำไฟล์ customer.xlsx ไปไว้ที่ Folder D:/xampp/htdocs/excel/customer.xlsx
สร้างไฟล์ index.php ไว้ที่ D:/xampp/htdocs/excel/index.php
<?php

require '../vendor/autoload.php';

use PhpOffice\PhpSpreadsheet\IOFactory;
use PhpOffice\PhpSpreadsheet\Spreadsheet;
use PhpOffice\PhpSpreadsheet\Writer\Xlsx;

$inputFileName = 'customer.xlsx';//ชื่อไฟล์ Excel ที่ต้องการอ่านข้อมูล

$spreadsheet = IOFactory::load($inputFileName);
$sheetData = $spreadsheet->getActiveSheet()->toArray(null, true, true, true);

$i = 0;
$j = 1;
$data = [];
foreach($sheetData as $s => $k){
	foreach($k as $g){
		$i++;
		$data[$j][] = $g;
	}
	$j++;
}
?>

<table border='1'>
	<tr>
		<th>Customer Code</th>
		<th>Customer Name</th>
		<th>Customer Address</th>
	</tr>
	<?php
		$i = 1;
		foreach($data as $q){

			if($i > 1){
				$b = trim($q[0]);
				$c = trim($q[1]);
				$d = trim($q[2]);

				echo "<tr>";
				echo "<td>$b</td>";
				echo "<td>$c</td>";
				echo "<td>$d</td>";
				echo "</tr>";
			}
			$i++;
		}
	?>
</table>
ทดสอบการทำงาน
ไปที่ http://localhost/excel/index.php
หากไม่มีอะไรผิดพลาดจะมีข้อมูลในไฟล์ customer.xlsx แสดงอยู่ในหน้าจอดังภาพ

การ Import ข้อมูลจาก ไฟล์ Excel ไปยัง ฐานข้อมูล MySQL
เมื่อเราสามารถอ่านข้อมูลจากไฟล์ Excel ได้แล้ว เราจะนำข้อมูลที่ได้ Import ไปไว้ที่ฐานข้อมูล MySQL กันต่อไปครับ
ขั้นแรกสร้าง ฐานข้อมูล demo และ ตาราง customer กันก่อนครับ
CREATE TABLE `customer` (
 `id` int(11) NOT NULL AUTO_INCREMENT,
 `customer_code` varchar(255) DEFAULT NULL,
 `customer_name` varchar(255) DEFAULT NULL,
 `customer_address` varchar(255) DEFAULT NULL,
 PRIMARY KEY (`id`)
) ENGINE=InnoDB DEFAULT CHARSET=utf8
แก้ไขไฟล์ index.php โดยเพิ่มส่วนของการ Insert Data ไปยัง MySQL ดังนี้
<?php

require '../vendor/autoload.php';

use PhpOffice\PhpSpreadsheet\IOFactory;
use PhpOffice\PhpSpreadsheet\Spreadsheet;
use PhpOffice\PhpSpreadsheet\Writer\Xlsx;

$inputFileName = 'customer.xlsx';//ชื่อไฟล์ Excel ที่ต้องการอ่านข้อมูล

$spreadsheet = IOFactory::load($inputFileName);
$sheetData = $spreadsheet->getActiveSheet()->toArray(null, true, true, true);

$i = 0;
$j = 1;
$data = [];
foreach($sheetData as $s => $k){
	foreach($k as $g){
		$i++;
		$data[$j][] = $g;
	}
	$j++;
}

$servername = "localhost";
$username = "root";
$password = "";
$dbname = "demo";

// Create connection
$conn = mysqli_connect($servername, $username, $password, $dbname);
// Check connection
if (!$conn) {
    die("Connection failed: " . mysqli_connect_error());
}

//Insert Data To MySQL
$i = 1;
foreach($data as $q){

	if($i > 1){
		$customer_code = trim($q[0]);
		$customer_name = trim($q[1]);
		$customer_address = trim($q[2]);

		$sql = "INSERT INTO `customer`(`id`, `customer_code`, `customer_name`, `customer_address`) VALUES (NULL,'$customer_code','$customer_name','$customer_address')";
		if (mysqli_query($conn, $sql)) {

		} else {
			echo "Error: " . $sql . "<br>" . mysqli_error($conn);
		}

	}
	$i++;
}

mysqli_close($conn);
?>

<table border='1'>
	<tr>
		<th>Customer Code</th>
		<th>Customer Name</th>
		<th>Customer Address</th>
	</tr>
	<?php
		$i = 1;
		foreach($data as $q){

			if($i > 1){
				$b = trim($q[0]);
				$c = trim($q[1]);
				$d = trim($q[2]);

				echo "<tr>";
				echo "<td>$b</td>";
				echo "<td>$c</td>";
				echo "<td>$d</td>";
				echo "</tr>";
			}
			$i++;
		}
	?>
</table>
ผลการทำงาน เมื่ออ่านไฟล์ เรียบร้อยแล้วจะมีการ Insert Data ไปยัง MySQL ดังภาพ

ขอขอบคุณข้อมูลจาก
https://phpspreadsheet.readthedocs.io/en/latest/